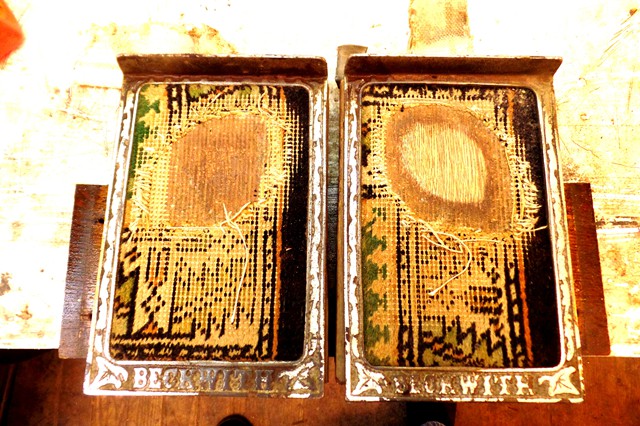
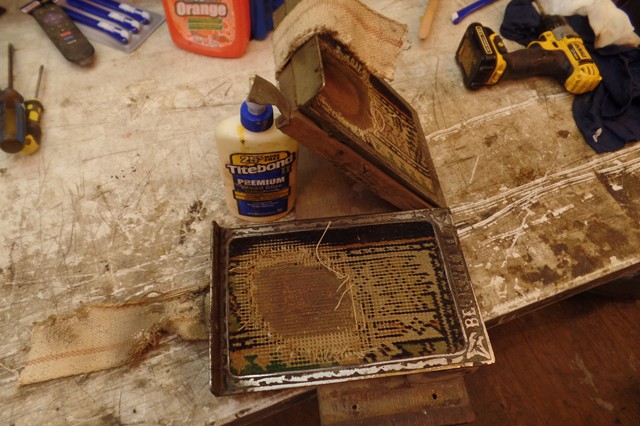
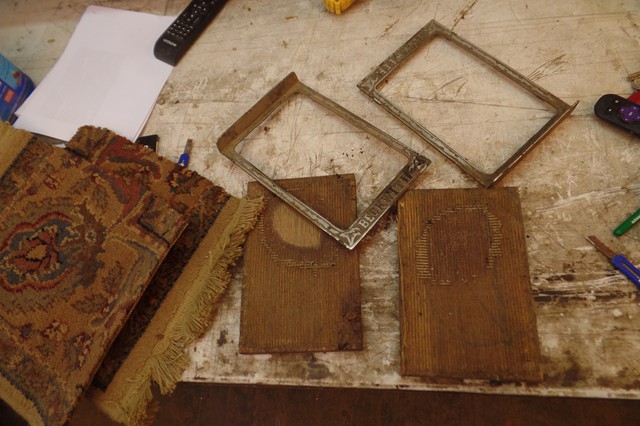
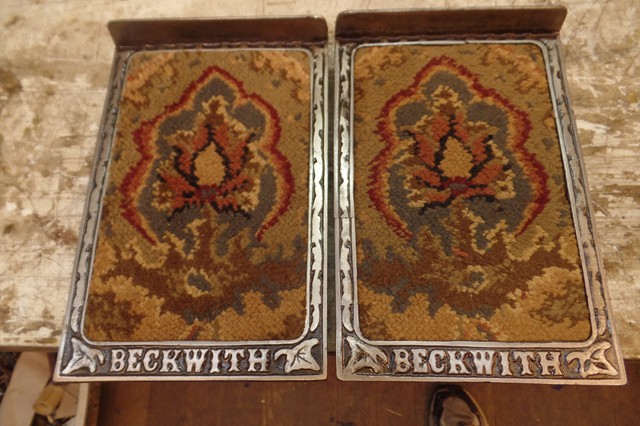
Restoring Pedals
These pictures show some of the work involved in the restoration of the pedals. After the organ pedals are removed, the dirty and rusted pedal rims are cleaned and derusted, painted to detail the background, then sanded and clear coated. Worn carpet is removed, the pedals are sanded, and old covering is replaced with period carpet. New hinges are installed, rims are screwed in place and the pedals are reattached to the pedal board of the organ cabinet.

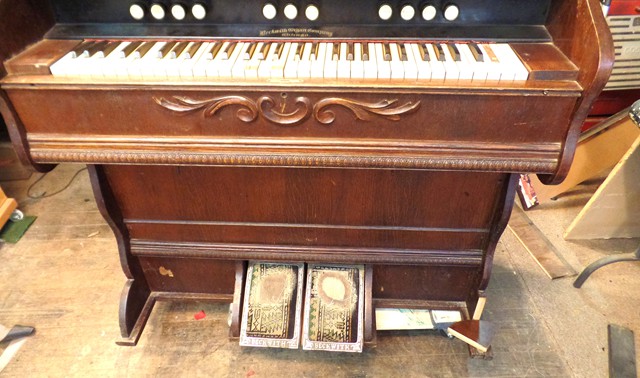
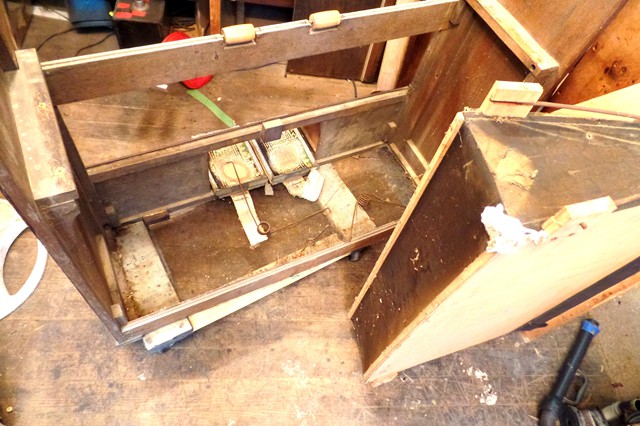
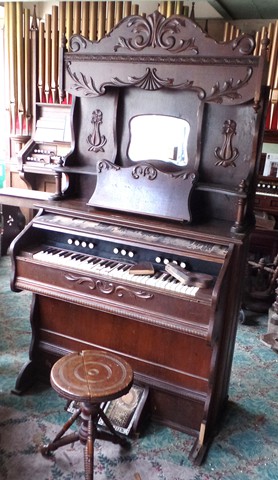
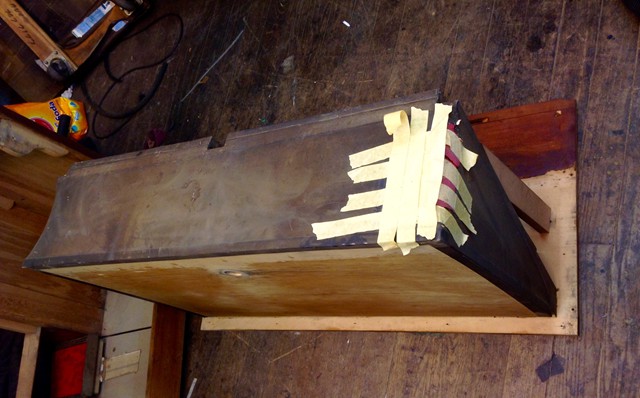
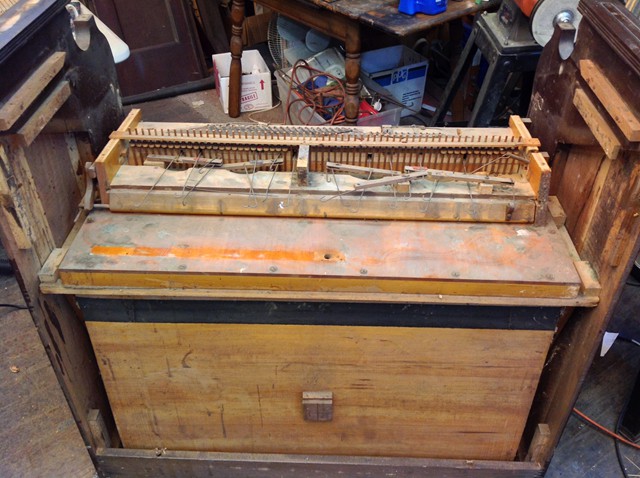
Organ action and cabinet repair
The removal of the organ action and repairs to the organ cabinet.


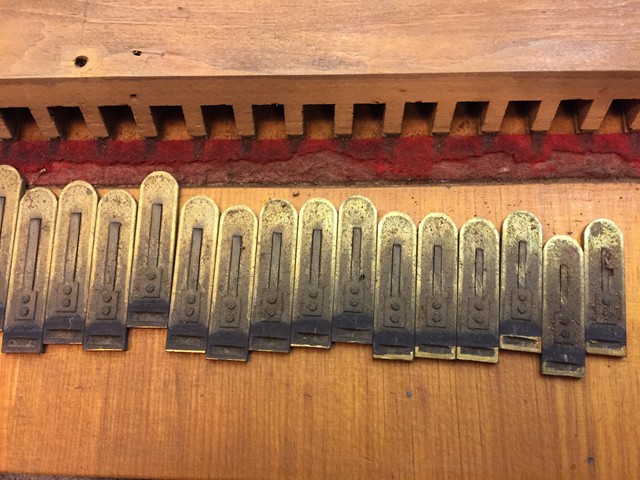
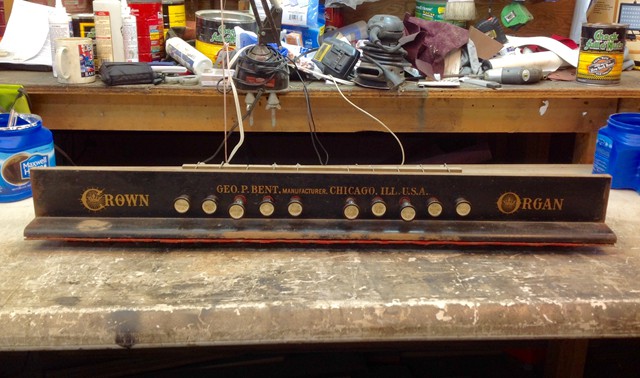
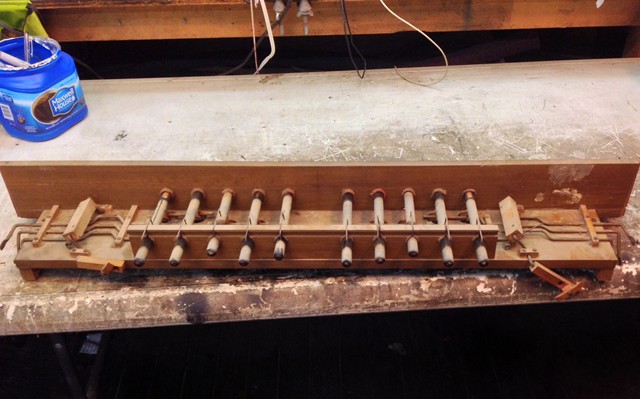
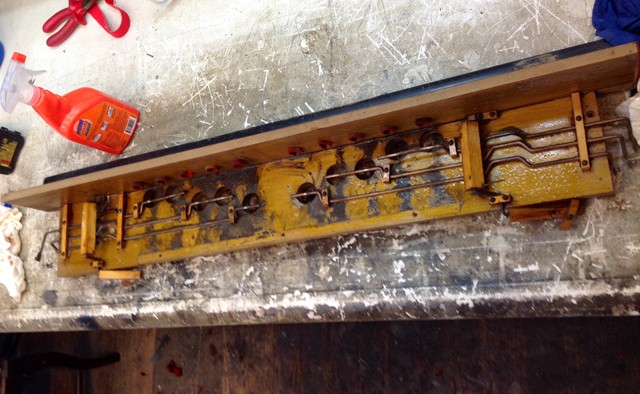
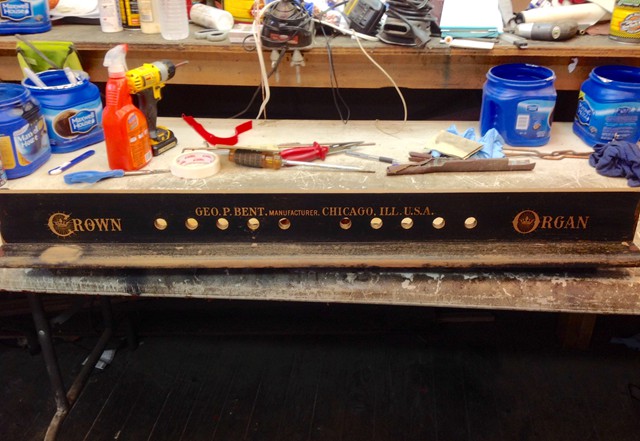
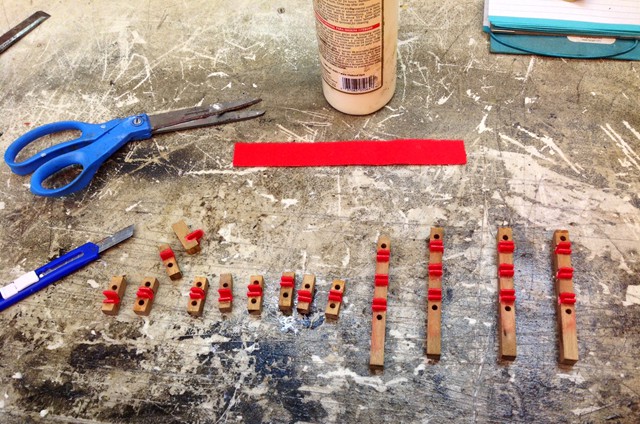
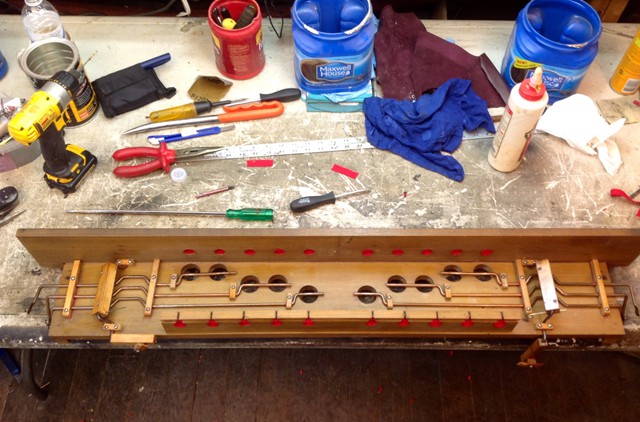
Coupler Device
These pictures show the original, unrestored coupler system. The coupler is taken apart, new cloth hinges are attached, actuator boards are cleaned, new felt applied. Actuator metal rods are derusted and re-plated. The metal retainers are likewise cleaned, re-plated and new felt bushings/bearings are installed. The entire apparatus is put back together, new springs are attached and new actuator leather glued beneath the actuator boards. The system is then clear coated to prevent corrosion and lubricated with graphite.
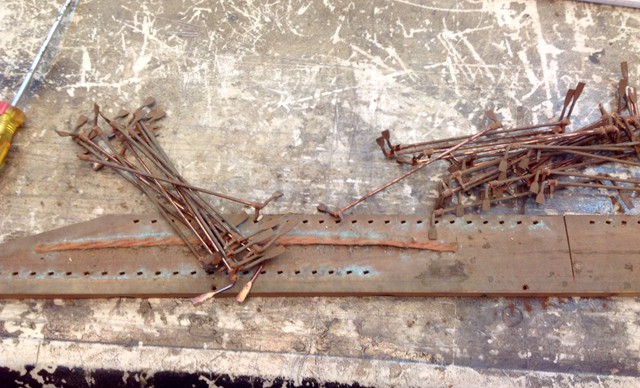
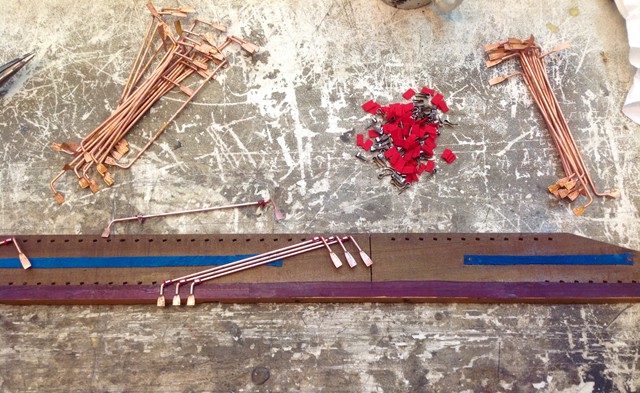

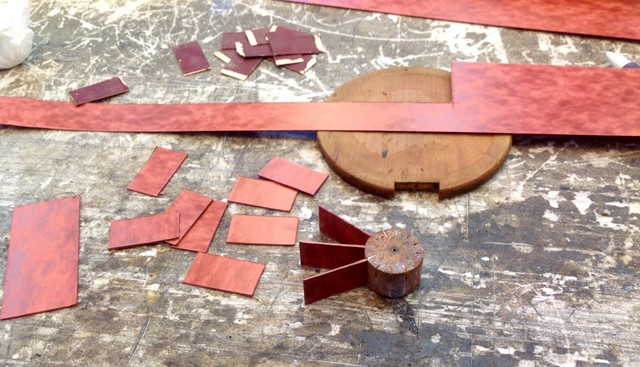
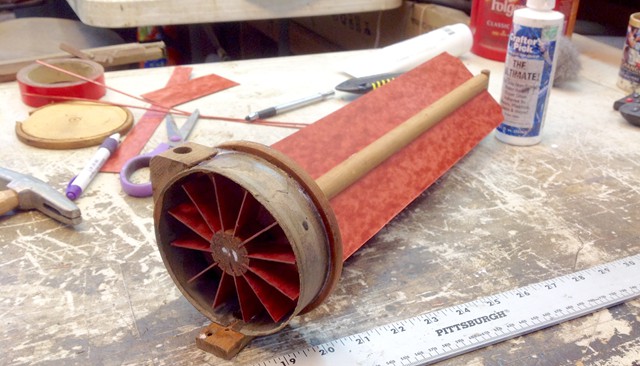
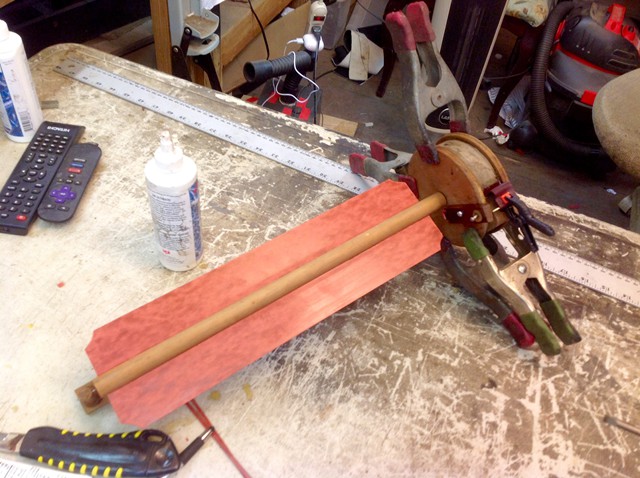
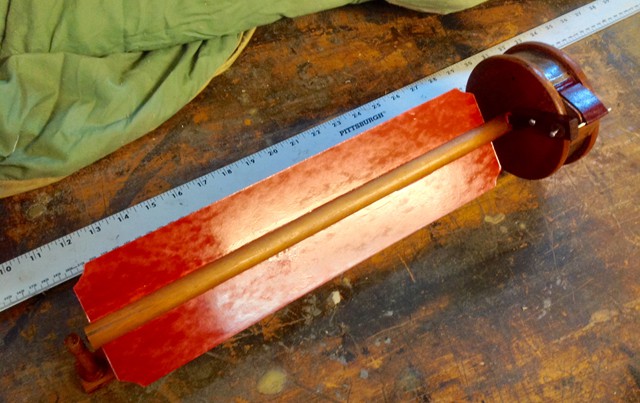
Restoration process of vox humana
The restoration of the vox humana. New blades must be cut and installed for the inner turbine, after disassembling the device. New blades are also cut for the two paddle blades. New leather bearing housings are installed and new actuation leather is applied to the engagement lever. The device is lubricated with graphite and bench tested prior to connection to the sound board.


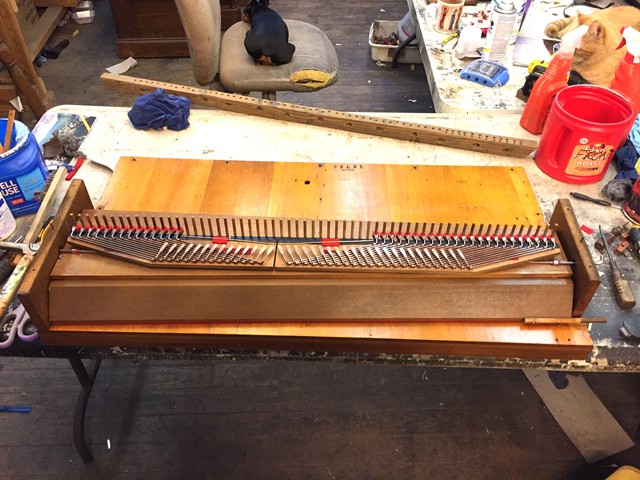
Soundboard Restoration Steps
The soundboard restoration process. Pegs are removed, cleaned, lubricated, and receive new felt collars. Mutes get old leather stripped off and new kidskin leather installed. Hinges and screws are derusted and new springs are made. Reeds are removed and cleaned. Old reed bed felt is removed. Soundboard is cleaned and clear coated. New reed bed felt is installed. Broken reed cells are repaired. Reeds are reinstalled, mutes and pegs are reinstalled. Swells get new hinges and felt edges before being installed. The restored coupler system is installed.


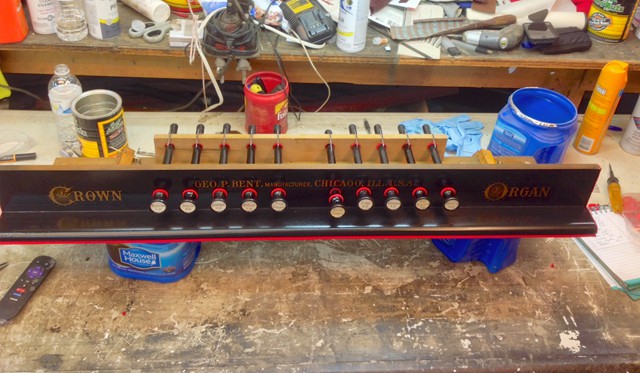
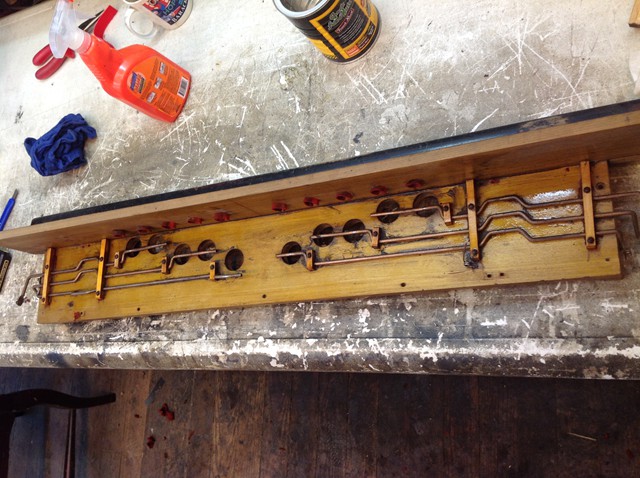
Stopboard
Pictures of the process associated with restoring an organ stopboard. Stops are removed and repainted, faces removed and cleaned before being reinstalled. New felt is applied. The stopboard face is repainted and lettering is preserved. actuator rods and screws are derusted and clear coated before the completed assembly is put back together.


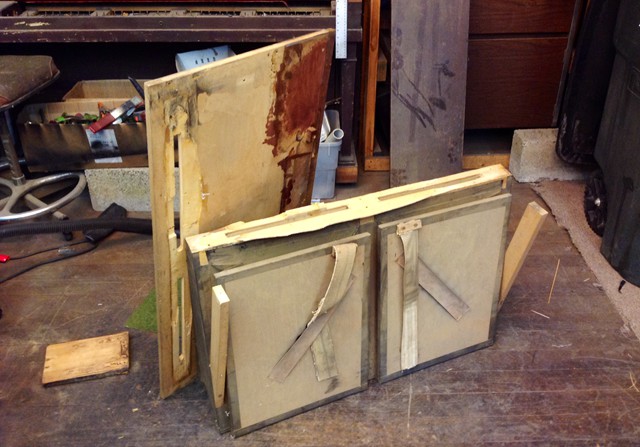
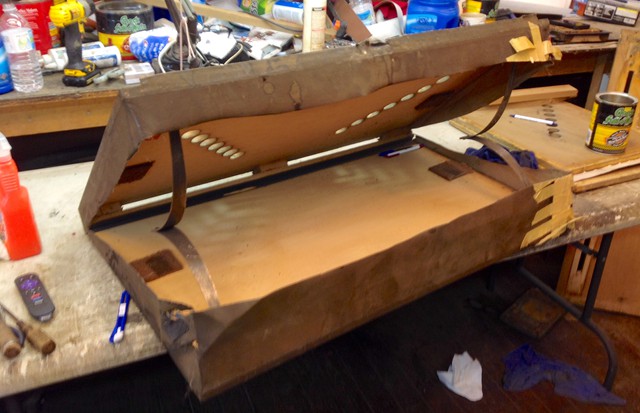
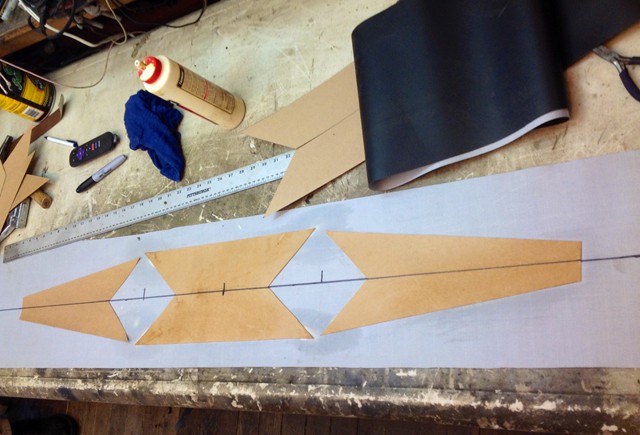
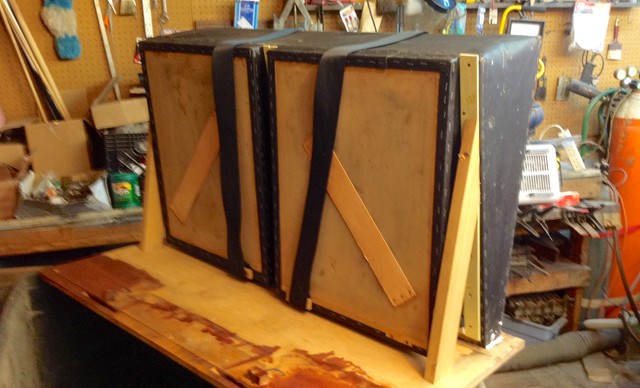
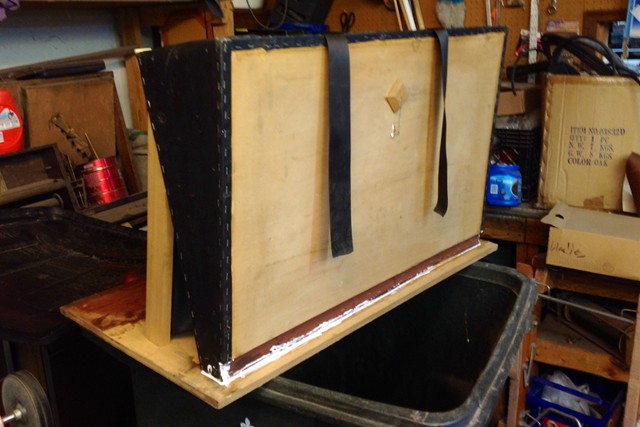
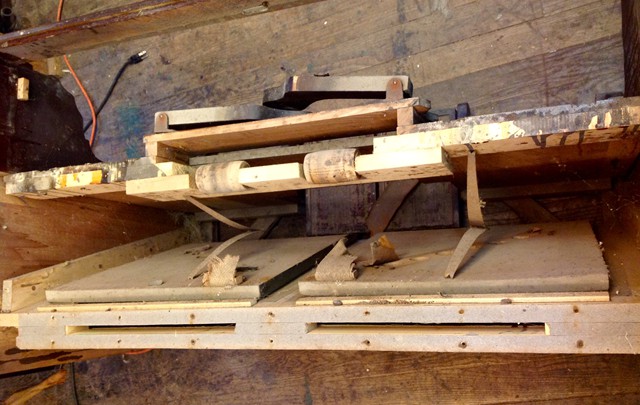
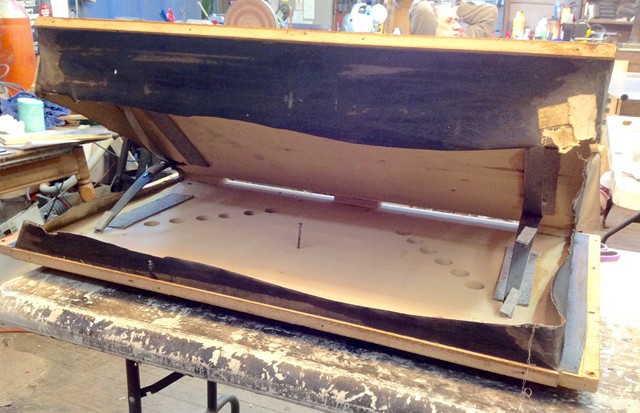
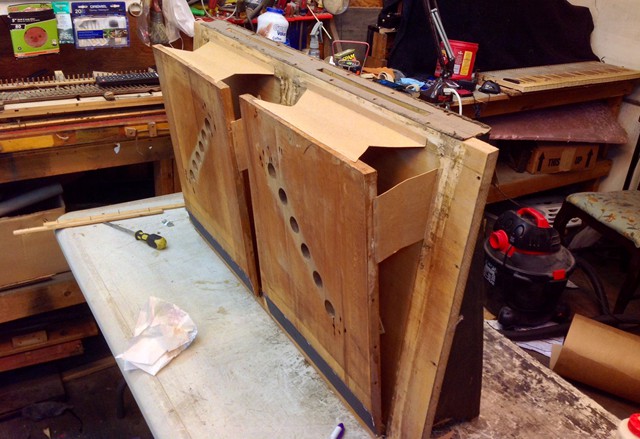
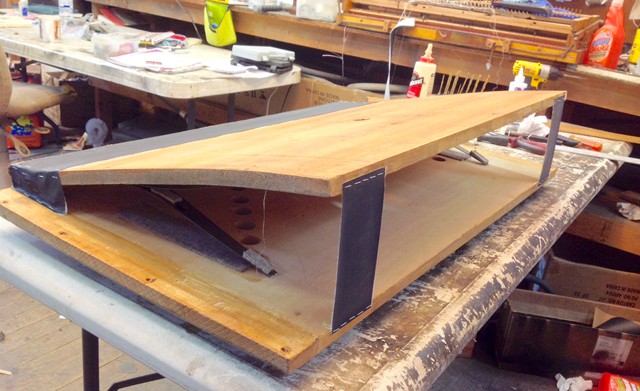
Bellows Restoration
These pictures show the restoration process of the bellows. The foundation board is removed, along with two wooden braces. The two exhauster bellows' and reservoir bellows are stripped of old material and hinges. Old worn exhaust and intake leather valves are removed and new leather cut and installed to replace them. New heavy cloth hinges are installed and inner and outer springs are derusted and clear coated. New bellows cloth is measured and cut and cardboard pumping reinforcers are cut and glued onto it before the bellows cloth is applied to both exhausters and reservoir. The escape valve is covered with a new kidskin leather facing and new hinge and spring installed. New pumping straps are attached to the exhausters and the foundation board is reattached to the structure with the two wooden braces and with a new gasket and screws. The assembly is put on a test board before assembly into the cabinet and connection of the pumping straps to the organ pedals.


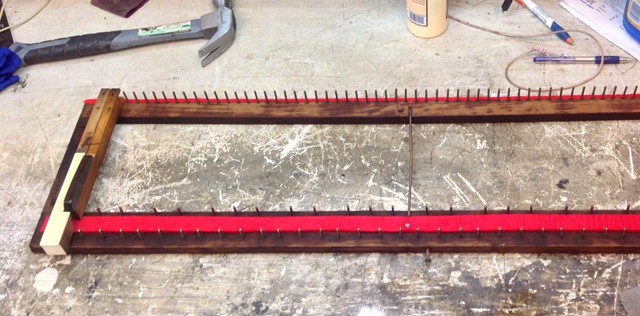
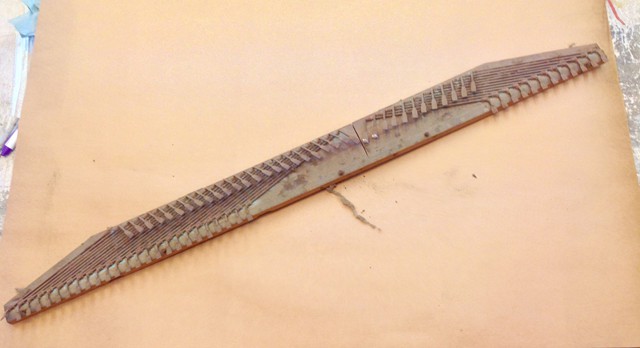
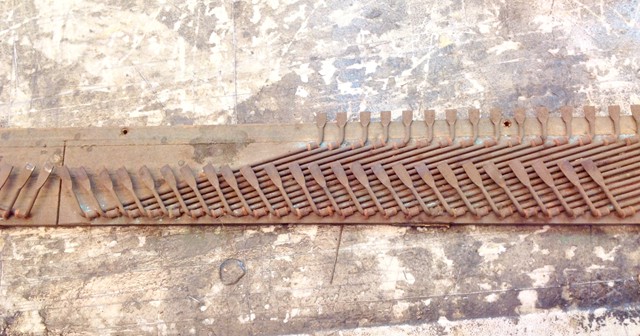
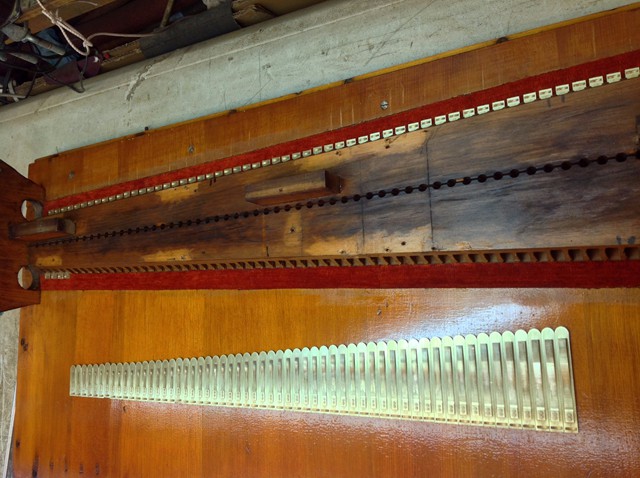
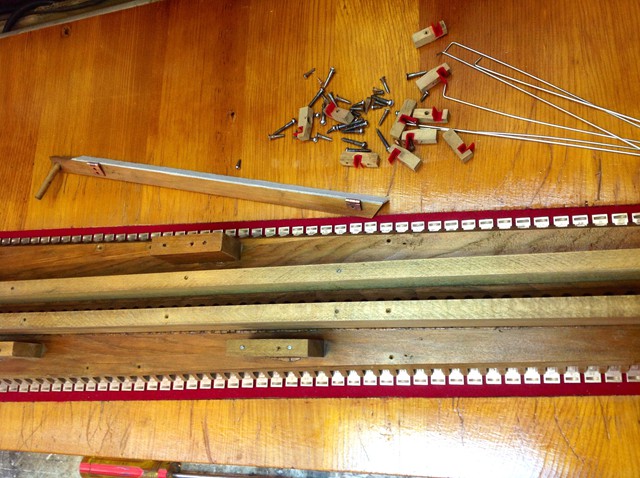
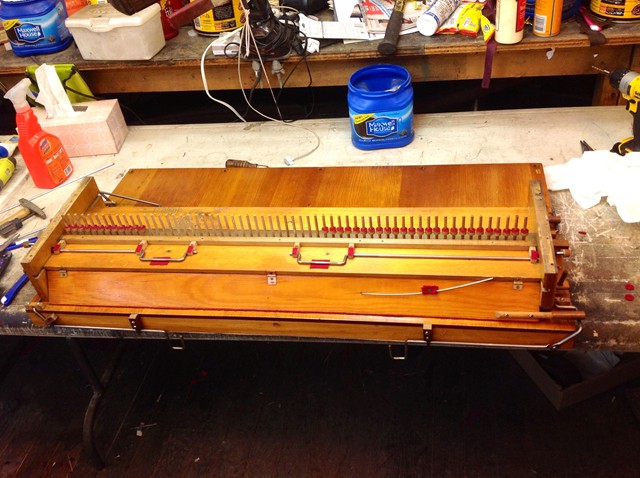
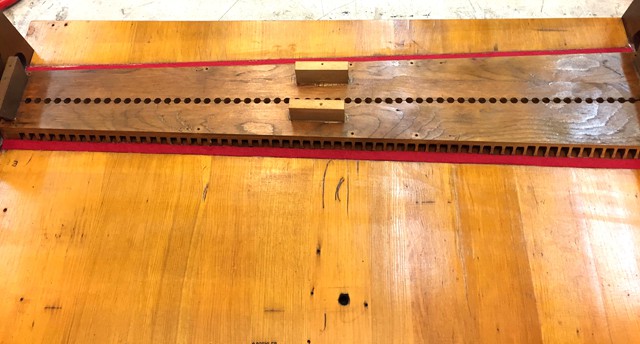
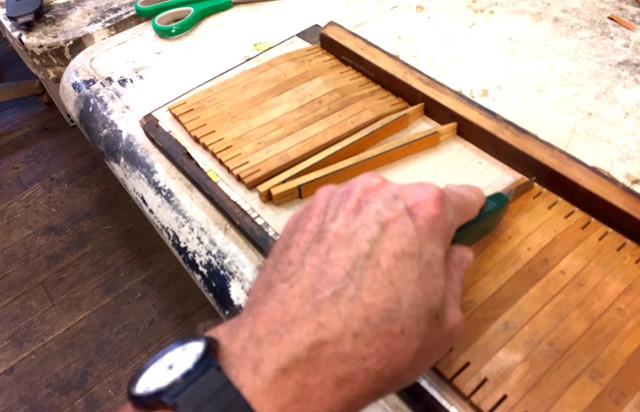
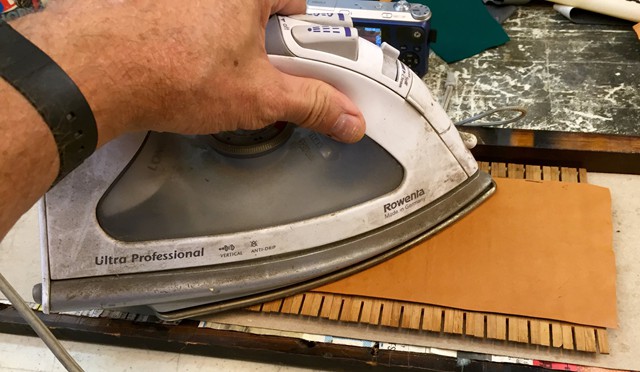
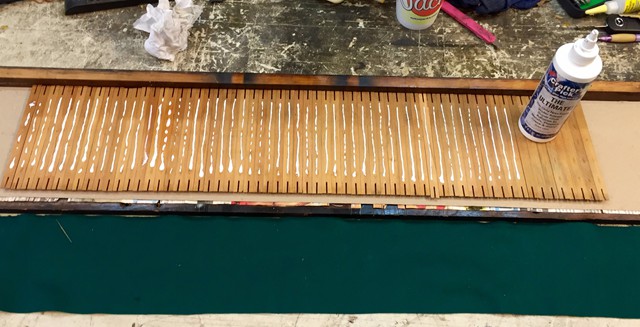
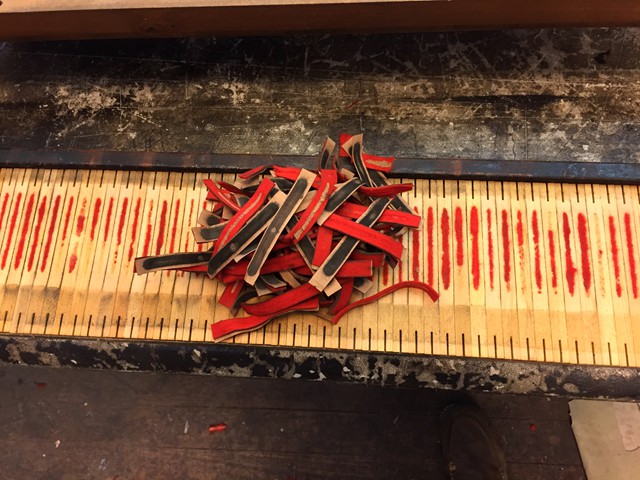
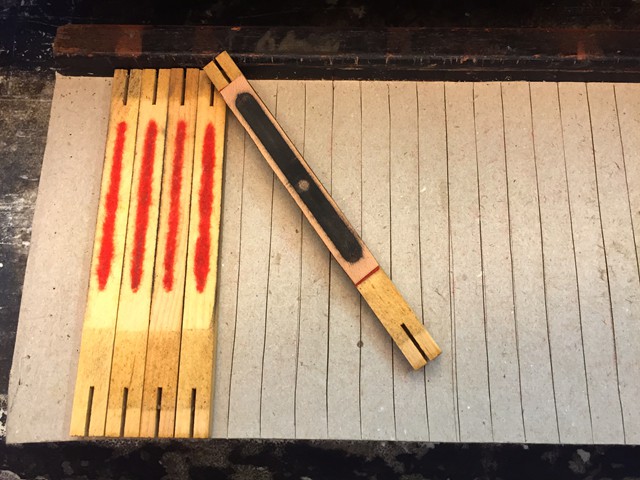
Pallet valve restoration process
Here are pictures of the process of restoring the 61 pallet valves, which are wooden valves beneath the soundboard covered with felt and kidskin leather to maintain an airtight seal beneath the reed cells until opened. They are held in place with springs and ride along two guide pins each. A pallet valve opens only when the key above it is depressed, pushing a wooden peg against it, causing it to rock slightly from one end. This allows air to be drawn through the reed cells and brass reeds from the soundboard and bellows system. To restore pallet valves, they must be removed carefully from beneath the soundboard and numbered. The now exposed flat surface beneath the soundboard and reed cells gets cleaned and sanded smooth. Then the old worn and often moth eaten felt and stiffened kidskin is removed from the pallet valves and the flat surface of each is sanded. Glue is applied sparingly and only to the very center of each pallet valve and a measured strip of new felt is applied and ironed into place. Next, glue is applied over the felt, again in the same fashion as before and new leather kidskin is applied and ironed into position. Then, the leather and felt between each pallet valve is carefully cut, in order to separate them. It is important to make sure that the felt and kidskin is flexible, along the outer edges and only glued along the thin center line beneath. The guide pins are cleaned with steel wool and repaired and secured beneath the soundboard as required. A new strip of felt is applied beside one end of the guide pins. The pallet valves are then re-positioned over the guide pins and the retaining springs re-installed. The valves are adjusted for optimum motion and checked to ensure a proper seal.


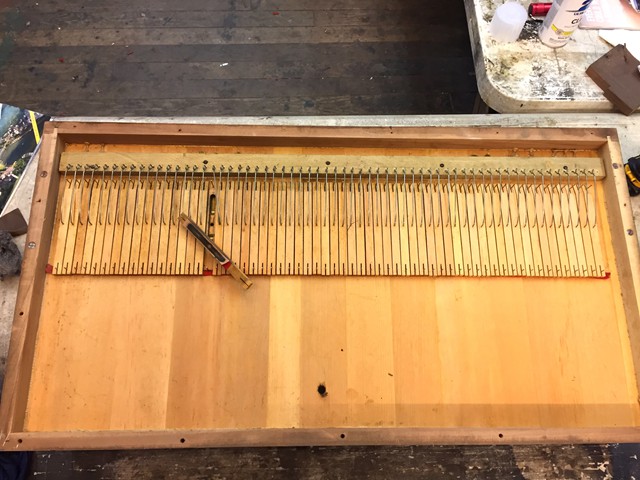
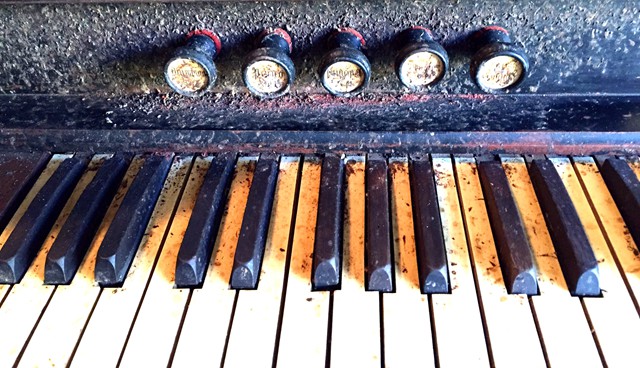
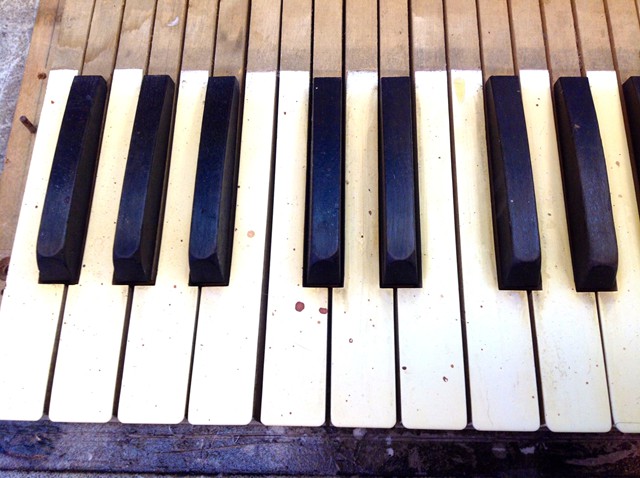
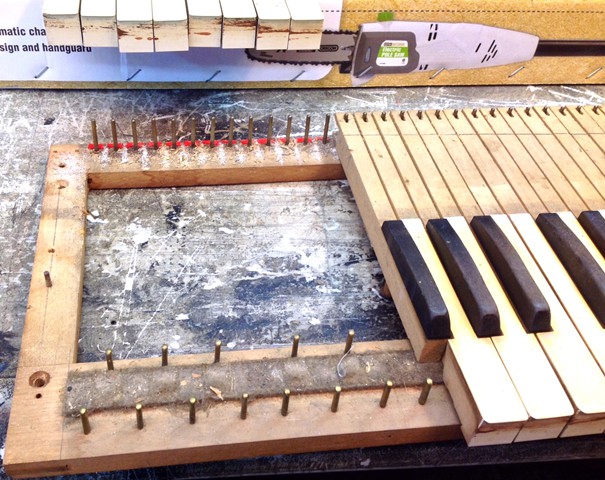
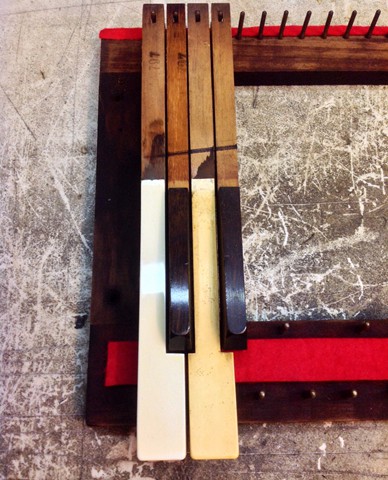
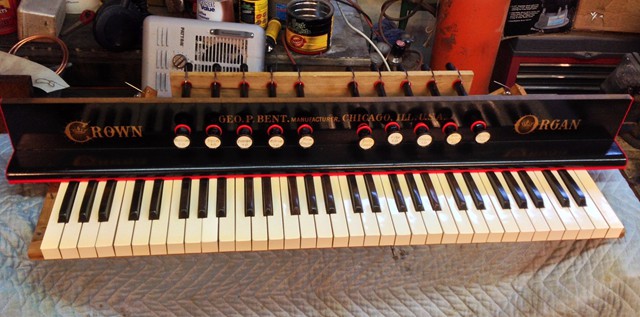
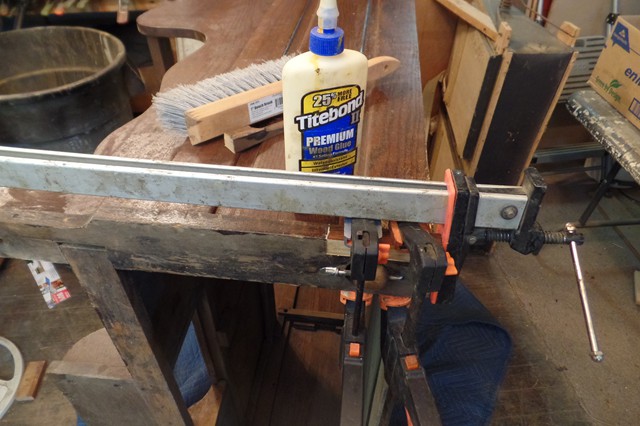
Keyboard restoration
An unrestored organ keyboard is often stained, cracked, has loose or missing ivories or sharps, and assorted problems from age, elements, and/or neglect. First, the keys are numbered and removed from the key bed. The key bed is a wooden framed system containing brass pins upon which the wooden keys ride, while resting on a base of felt. The key bed must be cleaned, clear coated, new felt attached and the brass pins cleaned and polished. The wooden bases of keys must be cleaned and old worn felt inserts replaced with new felt. Black key tops (sharps) are often poorly glued and easy to snap off, if some are not already broken or missing. Therefore, it is necessary to test them all and if any break loose, use wood glue to secure them correctly and clamp them overnight. They are then cleaned and polished, if made of ebony. If they were originally painted wood, they will be repainted. The missing or broken/cracked ivory or faux ivory must be removed with a heat gun, the wood sanded, and suitable replacement ivories selected from dozens of old keyboards. Because no two keyboards are identical in key size or patina, it can take time to locate suitable replacements. Once found, key tops are glued and clamped into place and the edges are filed and shaped to ensure that they fit properly. Next, key tops are cleaned and sanded with progressively finer grit wet/dry sandpaper to remove stains and lighten the appearance of accumulated age before polishing them on a buffing wheel with polishing compound. Keys are then fitted back to the key bed, felts are lubricated over the brass pins with powdered graphite, and new replacement felt pads glued beneath the keys where they ride upon the pegs when the key bed is re-attached to the action soundboard.